Please note that this is a very rough and basic guide, each install is slightly different and you'll need to adapt your install technique to suit.
Title: A Beginner's Guide to Installing Car Wraps
Introduction
Car wraps have become increasingly popular in recent years as a cost-effective way to transform the appearance of your vehicle. Whether you want to give your car a unique look or use it for advertising purposes, car wraps offer versatility and customization options that traditional paint jobs can't match. However, installing a car wrap can be a daunting task for beginners. In this guide, we will walk you through the basics of installing a car wrap, helping you get started on your journey to giving your vehicle a fresh new look.
- Gather Your Materials
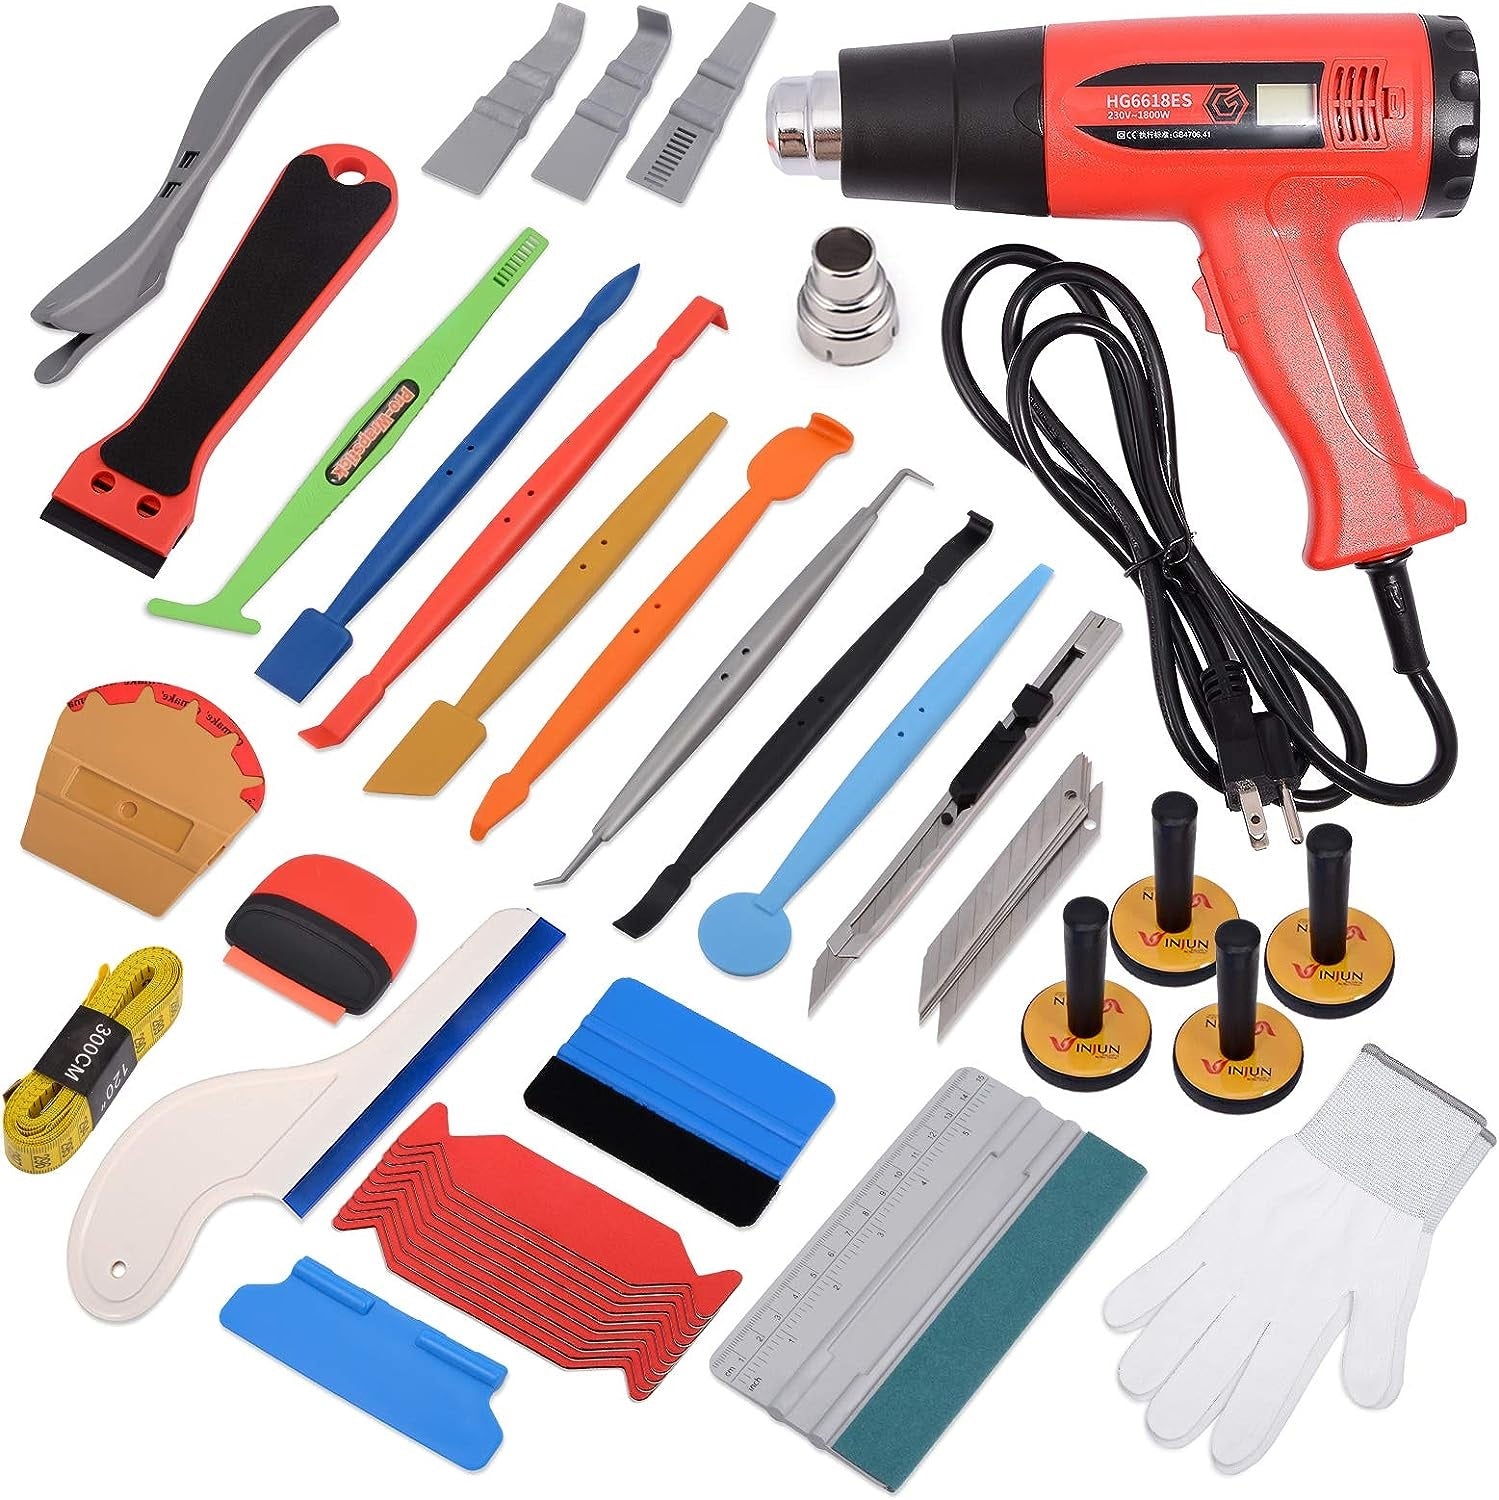
Before you begin the installation process, it's essential to gather all the necessary materials and tools. Here's a list of items you'll need:
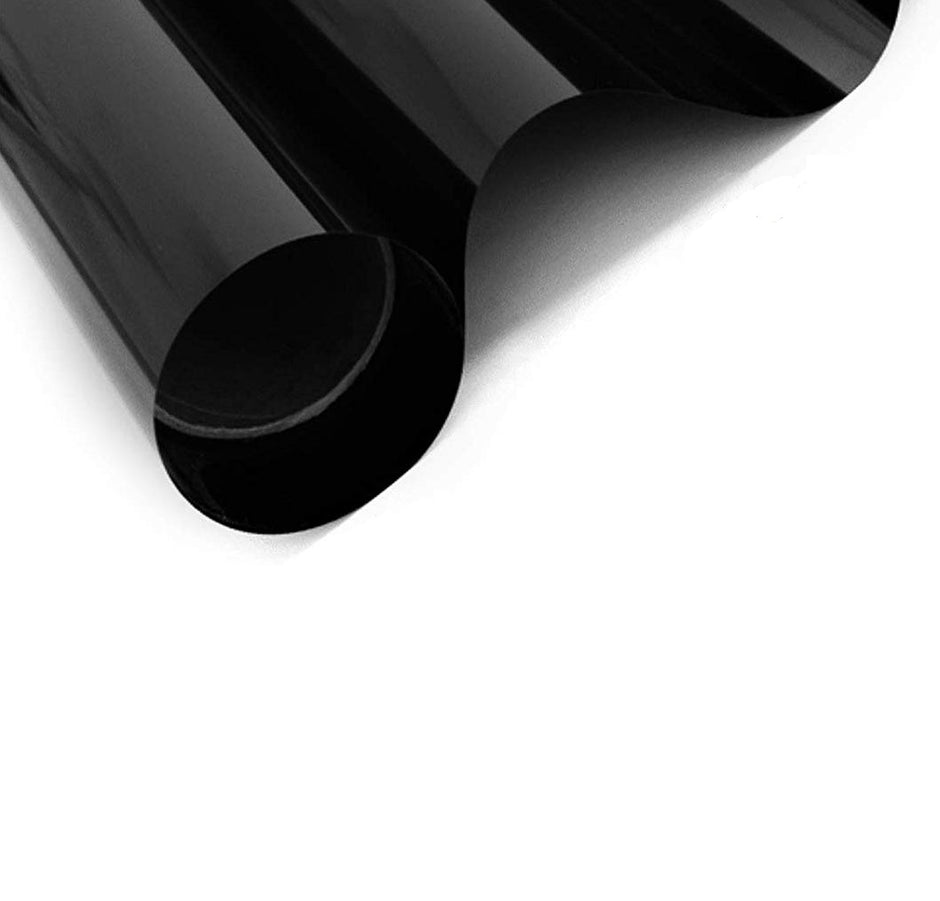
- Car wrap film
- Squeegee
- Heat gun or propane torch
- Utility knife with fresh blades
- Measuring tape
- Cleaning supplies (isopropyl alcohol, microfiber cloths)
- Masking tape
- Prepare Your Workspace
Installing a car wrap is a precise task that requires a clean and controlled environment. Ensure that you work in a dust-free, temperature-controlled space, preferably indoors. Proper lighting is crucial for a successful installation, so make sure your workspace is well-lit.
- Clean Your Vehicle
One of the most critical steps in car wrap installation is preparing the car's surface. Start by washing the vehicle thoroughly to remove dirt, grime, and wax. Use a mixture of water and mild soap, followed by a rinse with clean water. Once the car is clean, use isopropyl alcohol to remove any remaining contaminants. A clean surface ensures better adhesion of the wrap.
- Measure and Cut the Wrap Film
Carefully measure the dimensions of the car panels you want to wrap. It's essential to cut the car wrap film slightly larger than the panel you intend to cover to ensure you have enough material to work with. Use a sharp utility knife with a fresh blade to make precise cuts. Be cautious when cutting to avoid damaging the wrap or your vehicle's surface.
- Apply the Car Wrap
Start with a small section of the car wrap film and peel off the backing paper. Begin applying it to the vehicle's surface, making sure it aligns with the edges of the panel. Use a squeegee to smooth out any air bubbles and ensure proper adhesion. Work slowly and methodically, applying even pressure as you go.
- Use Heat for Contours
Car wrap film is designed to be heated to conform to the curves and contours of your vehicle. Use a heat gun or propane torch to gently heat the wrap while stretching it to fit the curves. Be cautious not to overheat, as excessive heat can damage the film. Continue to use the squeegee to remove any remaining air bubbles.
- Trim Excess Film
Once you've applied the car wrap film to the panel, use your utility knife to trim away the excess material. Be precise in your cutting to achieve clean edges and a professional finish.
- Repeat for Other Panels
Repeat the above steps for each panel you want to wrap. Take your time, and don't rush the process. Patience and precision are key to a successful car wrap installation.
- Final Inspection
After all panels are wrapped and trimmed, carefully inspect the entire vehicle for any imperfections, air bubbles, or loose edges. If you find any issues, use the heat gun and squeegee to address them.
Conclusion
Installing a car wrap may seem intimidating at first, but with the right materials, tools, and a methodical approach, it's a task that can be accomplished by beginners. Remember to work in a clean and controlled environment, take your time with each step, and be patient when dealing with curves and contours. With practice, you can achieve a professional-looking car wrap that will turn heads wherever you go. Happy wrapping!