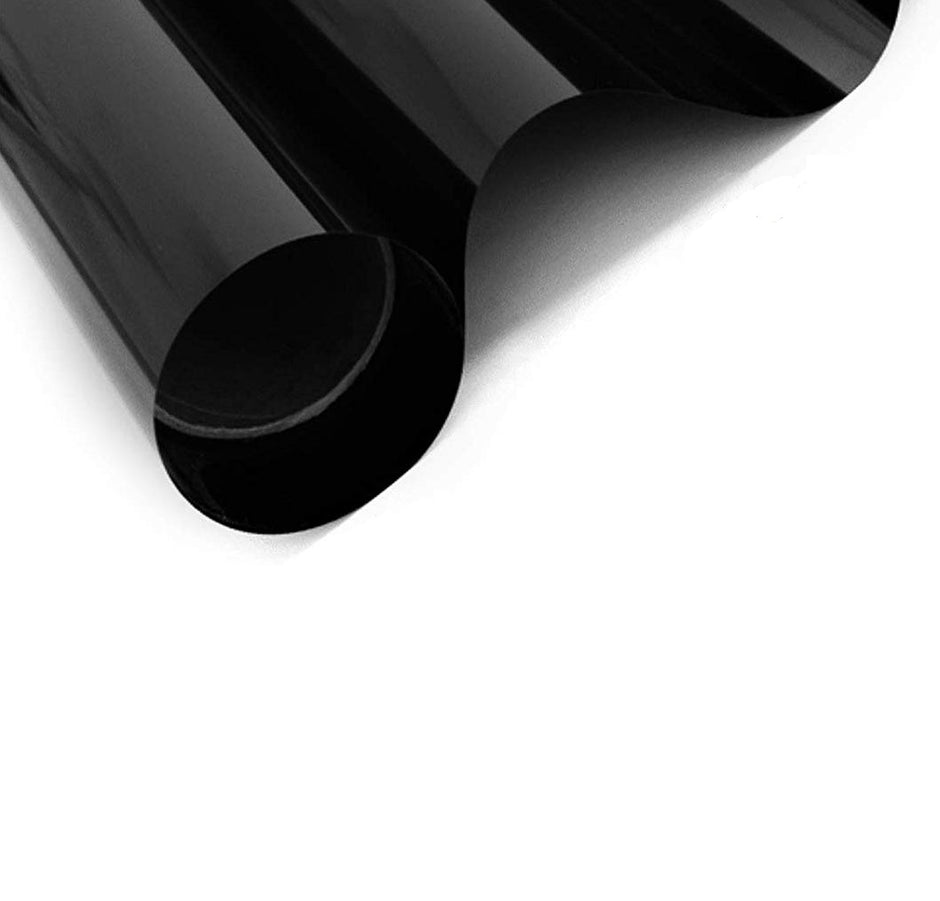
Please note that this is a very rough and basic guide, each install is slightly different and you'll need to adapt your install technique to suit.
Title: A Beginner's Guide to Applying Window Tint
Introduction
Window tinting not only enhances the aesthetic appeal of your vehicle but also provides several practical benefits such as UV protection, heat reduction, and increased privacy. If you're a beginner looking to tint your car windows, this guide will help you understand the basics of applying window tint. With the right tools and techniques, you can achieve a professional-looking finish while enjoying the advantages of tinted windows.
- Gather Your Materials
Before you begin the window tint installation process, ensure you have all the necessary materials and tools ready:
- Window tint film
- Spray bottle with a soapy water solution
- Razor blade or sharp utility knife
- Squeegee
- Heat gun or hairdryer
- Clean, lint-free microfiber cloths
- Blue painter's tape
- Dust-free workspace
- Choose the Right Tint Film
Selecting the appropriate window tint film is crucial. Consider your local regulations regarding tint darkness, as these laws vary from place to place. You can choose between dyed, metalized, or ceramic films, each with its own advantages and price points. Read product reviews and consult with professionals to find the best tint film for your needs.
- Prepare the Windows
Properly preparing the windows is essential for a successful tint installation:
- Start by cleaning the window surfaces both inside and out. Use a glass cleaner or a mixture of water and isopropyl alcohol to remove dirt, grease, and residue.
- Ensure the windows are completely dry before moving on to the next step.
- Cut the Tint Film
Measure the dimensions of the window you plan to tint. Leave some extra film around the edges to ensure complete coverage. Use a sharp utility knife or a razor blade to cut the tint film according to your measurements. Be precise during this step to avoid waste and ensure a neat finish.
- Apply the Tint Film
Here's how to apply the window tint film:
- Begin by spraying the window with a soapy water solution. This will allow you to easily slide the film into position and prevent it from sticking prematurely.
- Carefully peel off the backing from the tint film.
- Position the film on the inside of the window, starting at the top. Allow some excess film to hang over the top edge.
- Use a squeegee to press the film onto the window, starting from the center and working outward. This will help remove any air bubbles and ensure a smooth, even application.
- Trim the excess film using a razor blade or utility knife, following the edge of the window frame.
- Heat and Smooth the Film
After applying the film, use a heat gun or a hairdryer to gently heat the surface of the tint. This makes the film more pliable, allowing you to smooth out any remaining air bubbles or imperfections. Be cautious not to overheat the film, as it can cause damage.
- Final Touches
After the tint is applied and smoothed, use a clean, lint-free microfiber cloth to wipe away any remaining moisture or bubbles. Ensure that the edges of the film are securely adhered to the glass.
- Allow Drying Time
The window tint film will take some time to fully cure and adhere to the glass. Keep the windows rolled up and avoid rolling them down for at least a few days, as this could disrupt the curing process.
Conclusion
Applying window tint to your car's windows is a rewarding DIY project that enhances both the appearance and functionality of your vehicle. With proper preparation, the right materials, and a steady hand, you can achieve a professional finish that provides privacy and protection while driving. Always check local regulations and consider seeking professional installation for complex window shapes or tight curves. Enjoy the benefits of your newly tinted windows!


